Table of Contents
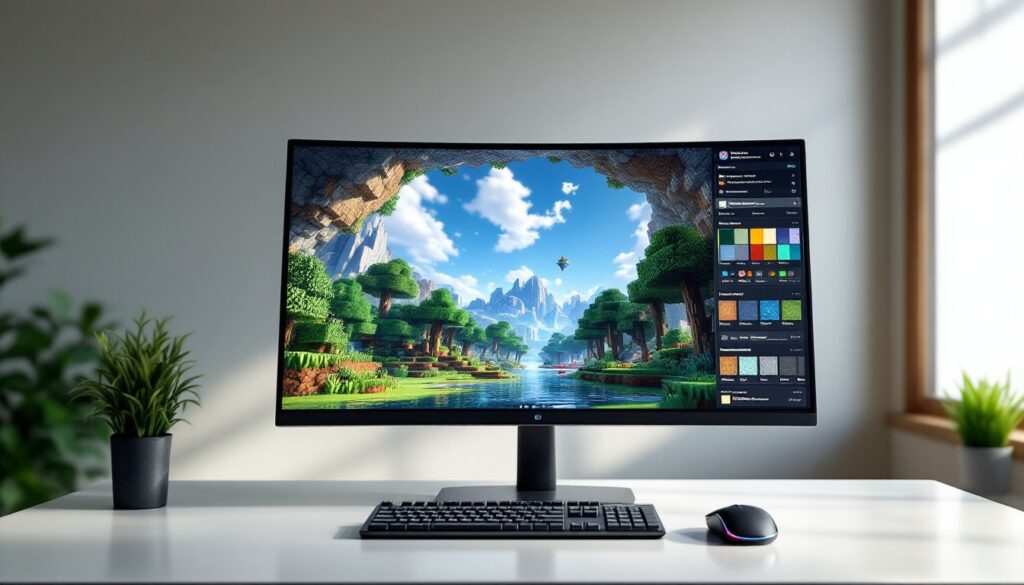
ToggleMinecraft’s default textures are functional, but they’re never going to blow your mind. That’s where texture packs come in. Whether you’re chasing photorealistic visuals, pushing your GPU to its limits, or just wanting blocks that don’t look like they were drawn in 2009, a quality texture pack can completely transform your experience. In 2026, the options are endless, and picking the right one depends on what you’re actually playing for. This guide breaks down the best texture packs for every playstyle, how to install them without nuking your frame rate, and which ones actually deliver on their promises.
Key Takeaways
- A texture pack (or resource pack) replaces Minecraft’s default block and item textures to improve visual aesthetics, immersion, and atmospheric quality without altering gameplay mechanics.
- The 32x to 64x resolution sweet spot offers the best balance between visual improvement and performance, while 128x and higher packs are best reserved for creative builds and screenshots.
- Popular texture packs like Faithful 32x, Mizuno’s 16 Craft, and John Smith Legacy deliver noticeable quality improvements without demanding high-end hardware, making them ideal starting points for most players.
- Stacking multiple texture packs and using shaders like Complimentary or BSL can dramatically enhance your Minecraft experience, but requires careful load order management and stable FPS monitoring.
- Performance optimization through shader adjustments (disabling shadow mapping), mipmapping settings, and pre-installation testing prevents frame rate drops and ensures a smooth gameplay experience.
What Are Minecraft Texture Packs and Why They Matter
A texture pack (also called a resource pack) is a collection of custom textures that replace Minecraft’s default block, item, and entity textures. Think of it as a skin for your entire world. Instead of the familiar blocky aesthetic, you can swap in hyper-realistic stone, custom wood grains, glowing neon signs, or stylized cartoon textures.
Why use one? A few reasons stand out. First, aesthetic appeal, most players eventually get bored looking at the same pixels they’ve stared at since 2011. Second, immersion. A texture pack xray won’t help your gameplay, but a cohesive, high-fidelity pack absolutely will sell the atmosphere of whatever world you’ve built. Third, performance awareness. Some packs are optimized for lower-end machines, while others demand serious hardware.
The Minecraft x ray texture pack is a different beast entirely, those are designed to let you see through certain blocks, which skirts the line between utility and cheating depending on your ruleset. For this guide, we’re focusing on aesthetic and immersive packs that enhance the game without breaking survival mode.
Texture packs are also moddable and shareable. The community is massive, with sites like Nexus Mods hosting thousands of resource and texture pack downloads for every taste.
Popular Texture Packs for All Play Styles
High-Definition Visual Enhancement Packs
If you want your Minecraft to look like an actual next-gen game, HD packs are where it’s at. Faithful 32x and Faithful 64x are the gold standard here, they keep the original Minecraft feel but with double or quadruple the pixel detail. You’ll notice sharper textures on wood grain, better definition on stone tiles, and less visual mud overall.
Continuity is a game-changer if you’re using a Fabric mod loader (Java Edition on PC). It adds connected textures so glass, doors, and shelves look seamless instead of repetitive. Paired with a decent shader, it’s night and day.
For pure eye candy, Complimentary and BSL Shaders are the heavy hitters. These aren’t texture packs themselves but shader mods that work with packs to deliver realistic lighting, shadows, and water reflections. You’ll need a solid GPU, we’re talking RTX 2070 or better if you want 60+ FPS at 1440p.
Realistic and Immersive Packs
Mizuno’s 16 Craft is a cult favorite for a reason. It nails that balance between detailed and performance-friendly. The textures feel hand-painted, and the color palette is warm without being cartoony.
John Smith Legacy is the OG immersive pack. It’s been around forever and still holds up. Medieval fantasy vibe, excellent for survival builds, and it doesn’t tank frame rates. Many players swear by it for creative mode megaprojects.
Jerm’s Better Leaves and similar foliage packs deserve a shout-out because default Minecraft grass and leaves look flat and sad. Swapping just those textures can make your world feel alive without committing to a full pack.
How to Install and Manage Texture Packs
Installation depends on your platform. On Java Edition (PC), it’s straightforward:
- Download your texture pack as a
.zipfile (don’t extract it). - Open your
.minecraft/resourcepacksfolder. On Windows, that’s%appdata%/.minecraft/resourcepacks. Mac and Linux users know the drill. - Drag and drop the
.zipfile into that folder. - Launch Minecraft, go to Options > Resource Packs, and activate it.
- Done. Load a world and you’re good to go.
Bedrock Edition (Console, Mobile, Windows 10/11) is slightly different. You’ll typically buy packs through the marketplace or use community packs installed through the game’s settings. Bedrock packs are more limited than Java, but they’re easier to manage.
Stacking packs is where it gets fun. You can load multiple packs at once, your top pick for blocks, another for mobs, another for UI. The load order matters (Minecraft reads from bottom to top), so experiment. If something looks wrong, you’ve got a conflict.
Managing your collection: dump old packs you don’t use. They just clutter your list. Rename packs with clear names (“John Smith + Faithful Leaves” instead of “resourcepack (2) final.zip”). Keep backups of packs you love in case they disappear online.
Optimizing Performance While Using Texture Packs
This is the hard truth: fancy texture packs cost frames. A 256x texture pack will murder your FPS compared to 16x. So how do you get pretty visuals without sliding into PowerPoint mode?
Resolution sweet spot: 32x to 64x is the Goldilocks zone for most setups. You get real visual improvement without needing a beastly PC. 128x and up? Save those for screenshots and creative builds, not survival grinding.
Shader balance: Shaders look incredible but they’re GPU-intensive. If you’re below RTX 3060 territory, use them sparingly or disable shadow mapping and ambient occlusion to lighten the load. Alternatively, skip shaders and just use a solid 64x texture pack, you’d be surprised how good it looks on its own.
Mipmapping and anisotropic filtering: These settings in your graphics options smooth out far-away textures. Leave them on if your FPS is stable: disable them if you’re bottlenecked.
Test before committing: Load into a world with your new pack and play for 10 minutes. Check if you’re consistently hitting your target FPS. If you dip below 30 FPS regularly, you’ve gone too hard and need to dial back resolution or shader complexity.
Gaming guides on sites like GamesRadar+ often feature optimization tips for specific packs, which can save you trial-and-error time. The community also posts FPS benchmarks regularly, so you know what to expect before downloading.
Conclusion
A solid texture pack isn’t a luxury, it’s a quality-of-life upgrade that makes Minecraft feel fresh again. Start with Faithful 32x or 64x if you’re unsure, layer in a foliage pack if vanilla leaves bother you, and experiment from there. Pay attention to your FPS and adjust resolution accordingly. And remember: the “best” texture pack is the one that makes you want to boot up the game. That’s different for everyone.