Table of Contents
ToggleOptiFine is a game-changer for Minecraft Java Edition players who want to squeeze every frame out of their setup. Whether you’re running on a potato laptop or a high-end gaming rig, this optimization mod improves performance while unlocking advanced graphics controls that vanilla Minecraft simply can’t touch. It supports HD textures, shader packs, dynamic lighting, and dozens of customizable settings, all wrapped in an elegant menu that feels native to the game. If you’ve ever wondered how streamers achieve smooth, gorgeous-looking gameplay while maintaining 100+ FPS, OptiFine is usually at the foundation. Let’s break down what it does, how to install it, and how to configure it for your specific needs.
Key Takeaways
- OptiFine is a free, client-side mod for Minecraft Java Edition that significantly improves FPS and unlocks advanced graphics features like HD textures, shader packs, and dynamic lighting.
- Minecraft mod OptiFine requires version matching between your game and the mod build, with a minimum of 2GB dedicated VRAM recommended for shader and HD texture support.
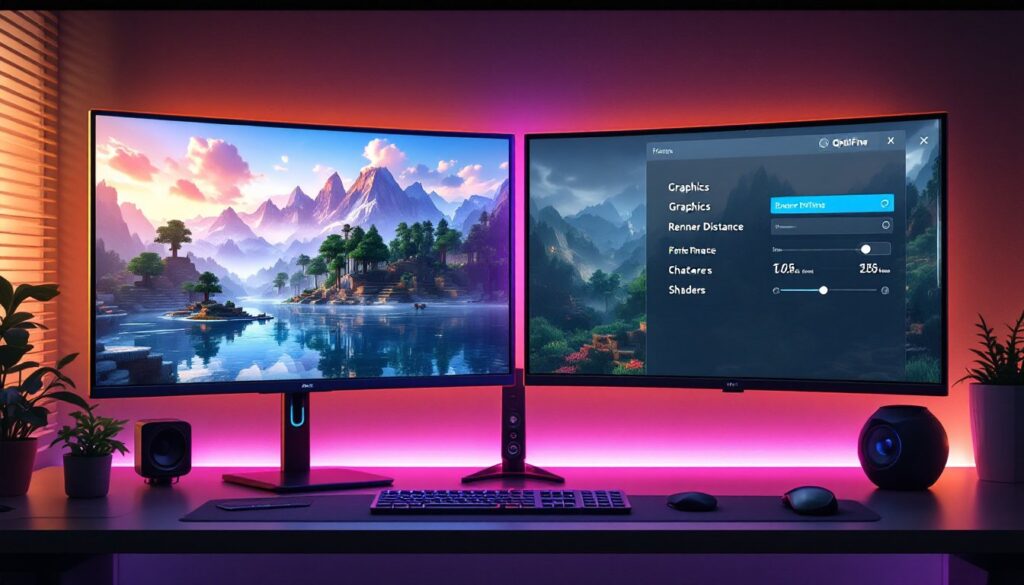
- Switching graphics from Fancy to Fast and reducing render distance from 12 to 6–10 chunks are the most effective OptiFine performance tweaks for boosting FPS on any hardware.
- OptiFine supports standalone installation or integration with Forge, allowing flexible setup depending on whether you want to use additional mods alongside it.
- Visual enhancements like shader packs, dynamic lighting, and anisotropic filtering can layer stunning graphics without severely impacting performance if your GPU has sufficient VRAM.
- OptiFine remains the gold standard for Minecraft Java Edition players seeking granular control to match gameplay performance and visuals to their specific hardware capabilities.
What Is OptiFine and Why You Need It
OptiFine is a client-side mod for Minecraft Java Edition that optimizes performance and extends graphics capabilities far beyond what the base game offers. The official description nails it: “It allows Minecraft to run faster and look better with full support for HD textures and many configuration options.”
Here’s what actually matters. Without OptiFine, your FPS is capped by vanilla Minecraft’s inefficient rendering and limited options. With it, you gain access to a treasure trove of tweaks: smoother chunk loading, advanced video settings, zoom functionality, configurable animations, and the ability to run high-resolution shader packs that transform the game’s look entirely.
Think of it as giving your GPU and CPU a direct line to what Minecraft is asking them to do, rather than having them guess. You get control over particle effects, entity rendering, smooth FPS modes, and even features like better grass textures. The mod handles the technical heavy lifting so you can focus on building, fighting, and exploring without stutters or frame rate drops.
For casual players, OptiFine means stable 60 FPS on modest hardware. For competitive players in PvP servers, it means consistent frame rates during intense fights, critical for reaction time. For content creators, it unlocks the visual polish that audiences expect: smooth shaders, crystal-clear textures, and cinematic camera zoom effects.
System Requirements and Compatibility
OptiFine runs on Minecraft Java Edition exclusively, which means Windows, macOS, and Linux PCs only, not Bedrock Edition or consoles.
Here are the non-negotiables:
- Minecraft Java Edition: You must own and launch Java Edition (not the Microsoft Store/Bedrock version).
- Java Runtime: Your PC needs Java installed to run the OptiFine .jar installer. Most systems have it, but if you don’t, grab the latest version from java.com.
- Version matching: OptiFine releases are bound to specific Minecraft versions. If you’re on 1.20.1, you download the 1.20.1 OptiFine build. If you update Minecraft to 1.21, you’ll need the 1.21 OptiFine build. Mismatches cause crashes.
- GPU memory: For shader support and HD textures, aim for at least 2GB of dedicated VRAM (integrated graphics can struggle).
OptiFine can run as a standalone mod, creating its own profile in the Minecraft Launcher, or it can be installed into Forge (where a Forge-compatible build exists). Both methods work: standalone is simpler, but Forge is necessary if you want OptiFine plus other mods like BuildersWand or Journeymap. Check the official OptiFine site for version-specific Forge compatibility.
How to Download and Install OptiFine
Standalone Installation (No Forge Required)
- Check your current Minecraft version in the Launcher.
- Head to https://optifine.net/downloads, this is the only official source, no exceptions.
- Find the version matching your Minecraft build (e.g., “OptiFine 1.20.1”) and click the download link.
- Skip the ads, you’ll see a few sponsored links: ignore them and grab the actual .jar file.
- Double-click the OptiFine installer .jar on your system.
- A small window opens: click “Install” and wait for confirmation.
- Open the Minecraft Launcher, and you’ll see a new “OptiFine” profile. Select it and hit Play.
Installation with Forge
If you already use Forge or want to combine OptiFine with other mods, follow these steps. First, grab a Minecraft Forge Download for your exact Minecraft version and install it normally. Next, download the Forge-compatible OptiFine .jar (labeled as such on the OptiFine site) for the same version.
- Launch Minecraft once using the Forge installation to generate the mod folder structure.
- Click “Mods” in the launcher, then “Open Mods Folder.”
- Drop the OptiFine .jar into that folder.
- Restart Minecraft with Forge selected, OptiFine will load automatically.
For step-by-step walkthroughs on handling multiple mods alongside OptiFine, check out guides on Minecraft Mods List for deeper dives into mod stacking and load order.
Essential Performance Settings to Maximize FPS
Once OptiFine is installed, open Video Settings in-game, you’ll immediately notice new options that vanilla Minecraft doesn’t have.
To maximize FPS, prioritize these changes:
- Graphics: Switch from “Fancy” to “Fast.” This is the single biggest FPS boost. Fancy rendering is beautiful but expensive.
- Render Distance: Lower from default (usually 12) to 6–10 chunks. Each chunk is intensive: cutting distance by half often doubles your frame rate.
- Smooth Lighting: Turn off or set to “Minimum.” This per-vertex lighting is gorgeous but kills performance on older GPUs.
- Clouds: Set to “Off” or “Fast.” Fancy clouds are purely cosmetic and drain frames.
- Particles: Reduce to “Decreased” or “Minimal.” Explosions, fires, and effects add up fast.
- Entity Shadows: Disable. Shadows on mobs and players are eye candy you don’t need for competitive play.
- VSync: Off (unless screen tearing bothers you: it does cap your FPS to your monitor’s refresh rate).
- Max Framerate: Set to “Unlimited” unless your system throttles: then cap it slightly below your monitor’s max Hz to maintain consistency.
- Mipmap Levels: Lower or Off. Mipmaps improve distant textures but cost performance.
- Dynamic Lights: Off for maximum FPS. This feature is performance-hungry.
- Smooth FPS / Smooth World: Enable. These reduce micro-stutter on most systems.
- Animations: In the Animations menu, disable water, lava, fire, and portal animations if needed.
Start here, benchmark your FPS with F3+N (Java Edition), and adjust upward from there. The goal is finding your sweet spot between playability and visuals on your hardware.
Visual Enhancements: Graphics Settings Worth Enabling
Once you’ve nailed your FPS baseline, OptiFine lets you layer in eye candy without tanking performance, if your GPU can handle it.
Shaders: This is where OptiFine shines. Navigate to Video Settings → Shaders, download shader packs (popular ones are available from community sites), and apply them. Shaders add realistic lighting, water reflections, shadows, and atmospheric effects. They’re demanding, expect a 20–50% FPS hit on mid-range hardware, but the visual jump is dramatic. If you want shader recommendations, shader settings for performance can guide your choices based on your hardware.
Texture Details:
- Better Grass / Better Snow: Enable for seamless terrain edges instead of hard cutoffs.
- Connected Textures: Turn on if using resource packs designed for it: glass panes, sandstone, and bookshelves connect visually.
Lighting & Atmosphere:
- Dynamic Lights: Set to “On” or “Fancy” if your FPS allows. Torches you’re holding and dropped items light the ground around them, immersive and intuitive.
- Sky, Sun & Moon, Stars: Keep enabled: minimal cost, huge atmosphere gain.
- Clouds: Fancy if you have headroom.
- Trees: Fancy for better foliage.
Quality:
- Anisotropic Filtering: Bump to 4x or higher. This sharpens distant textures at angles with minimal FPS penalty.
- Anti-Aliasing: If your hardware supports it, enable to smooth jagged edges, especially noticeable in shaders.
- Mipmap Levels: Set to 2–4 for texture smoothness during camera movement.
The beauty of OptiFine is optionality. You can have performance or visuals or both, it depends on your build. A player with a RTX 4090 will enable everything: someone on integrated graphics will strip it down to essentials. That’s the point. Resources from PC games news and performance guides can help you benchmark what your specific GPU handles well.
Conclusion
OptiFine remains the gold standard for Minecraft Java Edition optimization and customization. It’s free, official, and has been battle-tested by millions of players across every hardware tier. Whether you’re running a potato or a flagship GPU, OptiFine gives you granular control to match your setup. Install it from the official site, configure your performance settings to your hardware, and layer in visual enhancements as your GPU allows. The result: smooth gameplay and a game that looks and runs exactly how you want it to. That’s why it’s still relevant in 2026.