Table of Contents
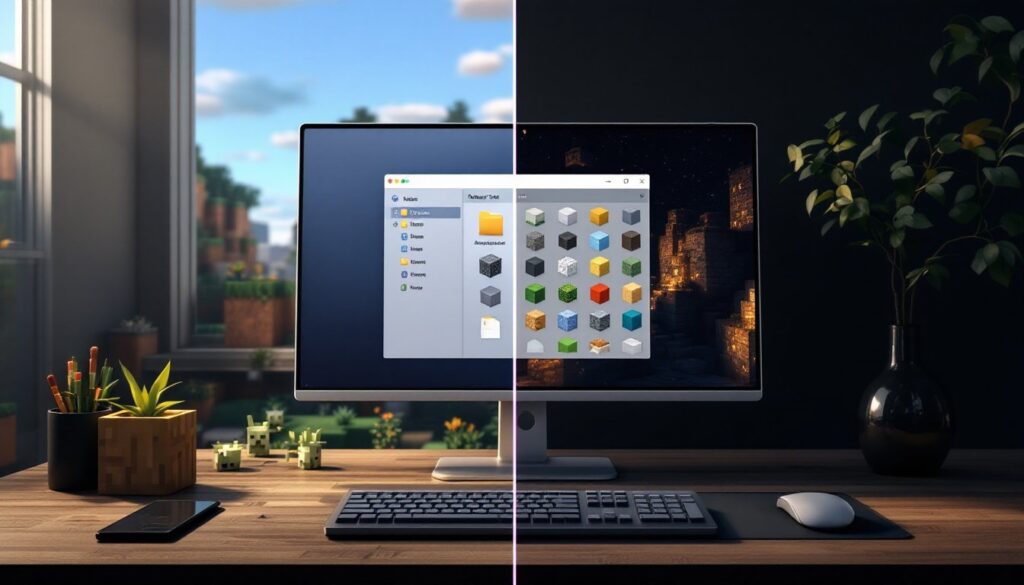
ToggleMinecraft texture packs are one of the easiest ways to refresh your game without waiting for the next major update. Whether you’re running a survival world, building elaborate structures, or just tired of the vanilla look, a good texture pack can completely overhaul how the game feels. From realistic high-definition packs to stylized pixel art, the options are endless. The best part? Installing them takes minutes, and you can swap between packs whenever you want. This guide covers everything you need to know about finding, installing, and optimizing texture packs for both Java and Bedrock editions in 2026.
Key Takeaways
- Minecraft texture packs instantly refresh vanilla visuals without affecting gameplay, ranging from photorealistic designs to stylized anime-inspired aesthetics.
- Installing texture packs on Java Edition is simple—download .zip files, place them in your resource packs folder, and activate them in Options; Bedrock Edition uses .mcpack files that auto-install through the Minecraft Launcher.
- Match your texture pack resolution to your hardware: start with 128x or 256x for mid-range systems, and reserve 512x packs for high-end GPUs to avoid performance issues.
- Community feedback and recent update history are critical when choosing texture packs—avoid downloads with zero updates or crash reports, especially for newer Minecraft versions.
- Pairing texture packs with lighter shaders and enabling mipmaps optimizes visual quality while maintaining smooth frame rates across survival worlds and building projects.
- Popular sources like CurseForge, Planet Minecraft, and Vanilla Tweaks offer diverse categories including realistic, minimalist, utility, and themed Minecraft texture packs for every playstyle.
What Are Minecraft Texture Packs and Why You Should Use Them
A texture pack replaces the default pixel art in Minecraft with custom graphics. Instead of the blocky, low-resolution textures Mojang ships with, you get custom-designed visuals that range from photorealistic to painterly to completely wild anime-inspired redesigns. They affect blocks, items, mobs like zombies and creepers, and even UI elements.
Why use them? A few solid reasons:
- Visual Refresh: Vanilla Minecraft looks fine, but after hundreds of hours, you crave something new. A texture pack instantly makes familiar content feel fresh.
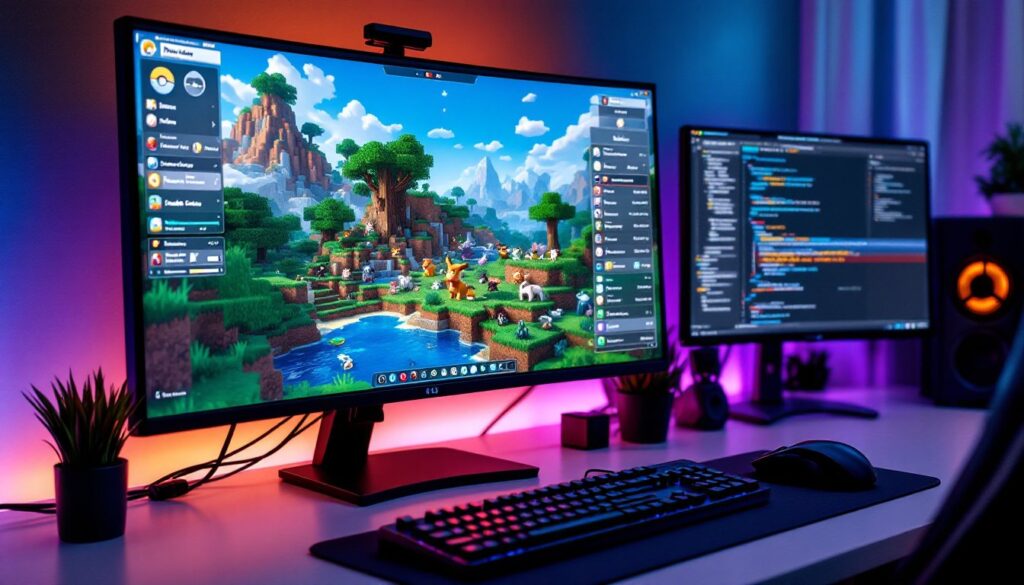
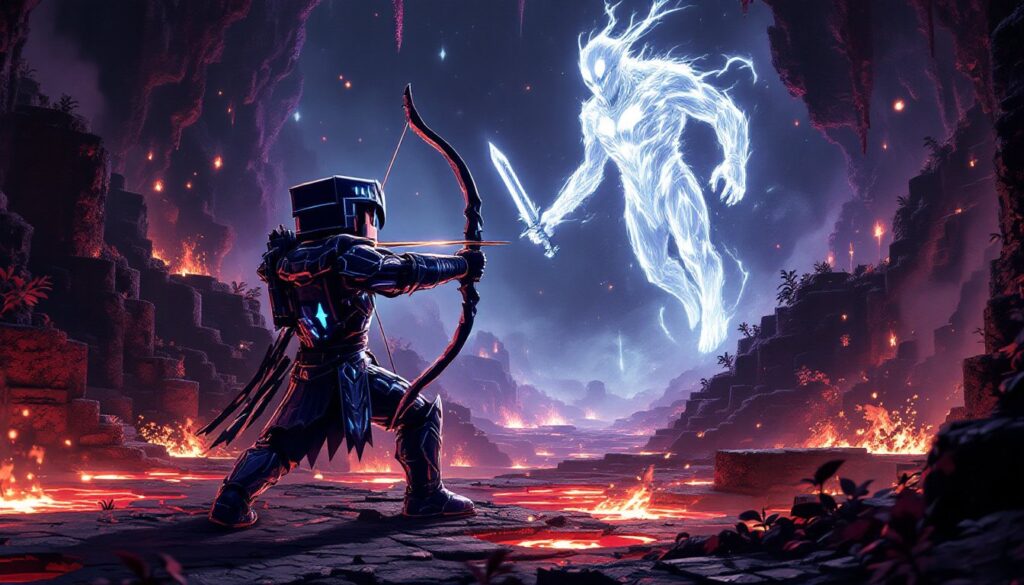
- Immersion: High-fidelity packs like Complementary or Continuity give the game a cinematic quality that makes exploring and building more engaging.
- Performance Control: Believe it or not, some texture packs are lighter than vanilla, which matters if you’re running a potato PC.
- Personal Style: Want your minecraft mobs to look like they’re from a specific game, anime, or art style? There’s a pack for that.
Unlike mods that add new mechanics, texture packs are purely cosmetic. They won’t break survival servers, they won’t affect gameplay balance, and they’re way easier to toggle on and off. They’re also universal, if you find a pack you like, you can use it on any server or world as long as the pack supports your edition.
How to Install Texture Packs on Java and Bedrock Editions
Installation is straightforward, but Java and Bedrock handle it differently. Here’s the exact process for each.
Java Edition Installation
Java Edition gives you the most flexibility. Texture packs are stored as .zip files in your resource packs folder.
- Download the pack from a trusted source like CurseForge or Planet Minecraft.
- Locate your resource packs folder:
- Windows:
%appdata%/.minecraft/resourcepacks - Mac:
~/Library/Application Support/minecraft/resourcepacks - Linux:
~/.minecraft/resourcepacks
- Drop the
.zipfile into that folder (don’t extract it, leave it zipped). - Open Minecraft, go to Options > Resource Packs, and you’ll see your pack in the list.
- Activate it by clicking the arrow to move it from “Available” to “Selected.”
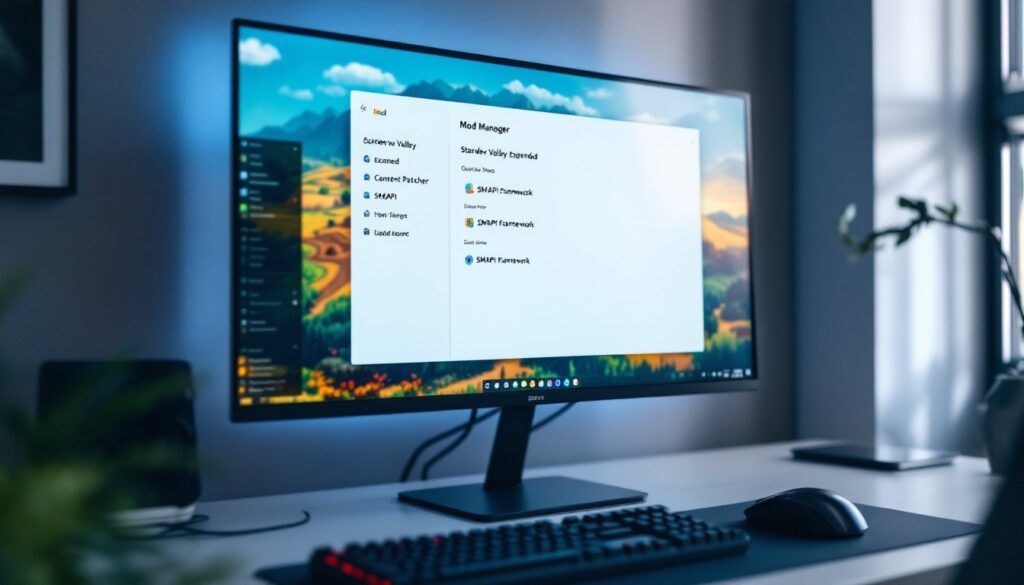
You can stack multiple packs and order them by priority. If two packs conflict, whichever is higher in the list wins. This is useful if you want a base pack plus smaller overlay packs that tweak specific textures.
Bedrock Edition Installation
Bedrock (Windows 10/11, Switch, PlayStation, Xbox, mobile) uses a different system. Packs are purchased, downloaded, or imported as .mcpack files.
- Find a pack from the in-game Marketplace (built-in, free and paid options) or download a
.mcpackfile. - If downloading externally, download the
.mcpackfile. - Double-click the
.mcpackfile (or open it with Minecraft Launcher), it auto-installs into your resource packs. - Create a new world or edit an existing one, go to Resource Packs, and toggle your pack on.
- Apply and play.
Bedrock packs are less flexible than Java (no stacking, no direct file manipulation), but they work across devices. Progress syncs, so your chosen pack stays active on Switch, PC, and mobile simultaneously.
Top Texture Pack Categories and Where to Find Them
Not all packs are created equal. Here are the main categories and where to grab them:
Realistic/High-Definition Packs – These replace low-res textures with detailed, photographic imagery. Examples: Complementary Shaders paired with a 256x or 512x resolution pack, or Patrix HD. They demand GPU power but look stunning. Found on CurseForge and Planet Minecraft.
Minimalist/Clean Packs – Simplified pixel art that’s easier on the eyes. Great for building because they’re less visually noisy. Useful Utilities and Vanilla Tweaks are solid starting points.
Stylized/Anime-Inspired Packs – Turn minecraft mobs into anime characters, blocky creatures into softer designs, or everything into chibi proportions. Popular on Planet Minecraft.
Utility/QoL Packs – These tweak UI, make overlays clearer, or add visual improvements to specific blocks and items without a complete overhaul. Faithful is the standard here, it’s the highest-quality direct replacement for vanilla textures.
Themed Packs – Desert, Nether, End, underwater themes, or even complete game remakes. Want your world to look like Stardew Valley or Terraria? Packs exist for that.
Where to Download: CurseForge (largest Java library, auto-updates through launcher), Planet Minecraft (massive community, free and paid), and Vanilla Tweaks (excellent free customizable packs). For Bedrock, the in-game Marketplace is your first stop, though external sites like mcpedl.com host community creations. Always check version compatibility, a 1.20 pack might not work flawlessly on 1.21, though most remain backward-compatible.
A key tip: Read the description and check recent comments before downloading. If a pack has 10,000 downloads but zero updates in two years and people are reporting crashes, skip it. Community feedback is gold.
Performance Tips for Using Texture Packs Without Lag
High-resolution texture packs look amazing but tank FPS if you’re not careful. Here’s how to use them without turning your PC into a space heater:
Resolution Matching: A 256x pack needs a decent GPU. A 512x pack needs way more VRAM. If you’re running 16GB RAM and a mid-range GPU, start with 128x or 256x. If FPS is smooth, bump up. If you dip below 60, scale down. Mobile? Stick to 32x or 64x.
Combine with Shaders Wisely: Texture packs + shaders stack performance hits. If you want Shaders for Minecraft Bedrock, use a lighter texture pack to compensate. A 64x pack with ray-tracing will run better than a 512x pack with the same shader.
Disable Unnecessary Features: Some packs include minecraft potions with animated bottles, custom particles, or detailed animated backgrounds. Disable these in the resource pack settings if FPS suffers. Minecraft potions usually have a dedicated toggle.
Use Mipmaps: Enable mipmapping (Video Settings > Mipmaps) to reduce flickering at distance. It uses a bit more VRAM but improves visual quality and can actually help performance at lower settings.
Update Your Drivers: Texture packs stress your GPU more than vanilla. Outdated GPU drivers = unnecessary stuttering. Update monthly.
Monitor Performance: Use F3 in Java (debug screen) to watch chunk loading and frame timing. If specific biomes tank FPS, it might be pack-specific. Check if the pack has an optimized version.
Pro tip: Not all high-res packs are heavy. Continuity (formerly known as ctm packs) and similar connected texture mods are light and add tons of visual depth. They pair well with texture packs and don’t demand a beast machine.
If you’re serious about visuals and performance, research Minecraft Mods List for optimization tweaks like Lithium or Sodium (Java) that free up headroom for texture packs.
Conclusion
Minecraft texture packs are the simplest, most impactful way to evolve your game. Whether you want photorealistic visuals, a cleaner aesthetic, or completely reimagined minecraft mobs, a quality pack transforms the experience. Installation is painless on both Java and Bedrock, communities are massive, and the variety is staggering. Start with something mid-resolution, measure your FPS impact, and experiment. The best pack is the one you enjoy playing with, so don’t get trapped chasing benchmarks. Grab one today and see your pixelated world through fresh eyes.