Table of Contents
TogglePotions are one of Minecraft‘s most powerful tools, turning a defenseless player into an unstoppable force or a struggling survivor into someone who can take on the Wither solo. Whether you’re running a minecraft potion chart on your second monitor or memorizing recipes from the wiki, understanding what each potion does and how to craft it separates casual players from survival veterans. This guide breaks down every potion effect, the exact ingredients you’ll need, and how to optimize your brewing setup for maximum efficiency. From basic Swiftness to game-changing Regeneration, you’ll find the complete roadmap to mastering potions across Java and Bedrock 1.21+.
Key Takeaways
- A minecraft potion chart requires understanding base ingredients like Nether Wart and modifiers like Redstone Dust and Glowstone Dust to maximize brewing efficiency.
- Essential positive effect potions include Fire Resistance for the Nether, Strength for combat scaling, and Regeneration for survival, each requiring specific ingredients and offering distinct advantages.
- Splash potions created with Gunpowder affect a 9-block radius but lose 25% duration, while lingering potions made with Dragon’s Breath create persistent effect clouds for area control.
- Setting up multiple brewing stands in sequence dramatically increases potion output by converting Awkward Potions into effect batches simultaneously within 20-second intervals.
- Negative effect potions like Weakness and Slowness have strategic niche uses, while modifiers should be applied one at a time to avoid overwriting previous boosts.
- Mastering potion brewing separates casual players from survival veterans by enabling solo fights against major bosses and large-scale raid preparation.
Brewing Basics and Equipment
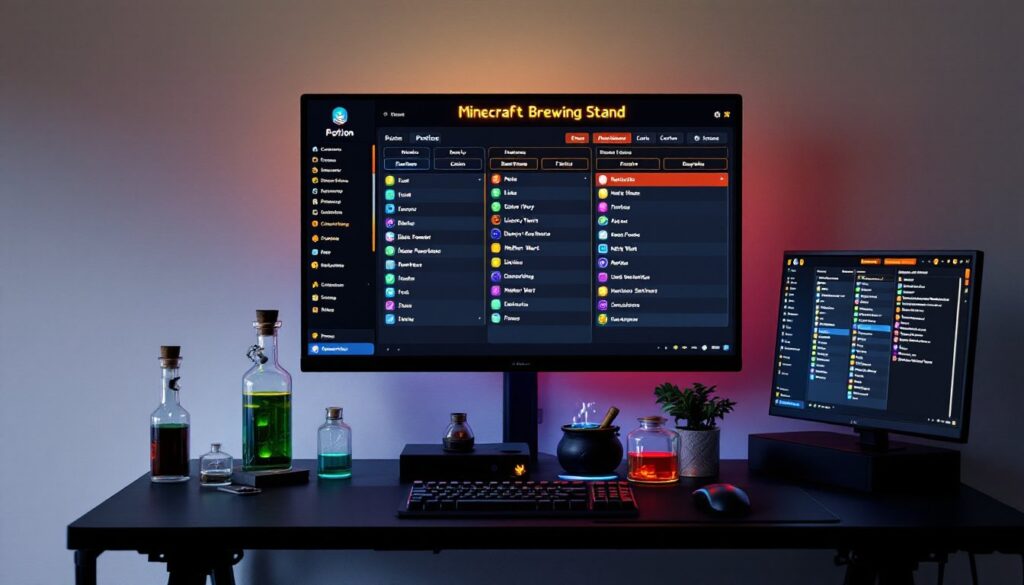
Before you brew a single potion, you need the right gear. A Brewing Stand is your workbench, craft it with 1 Blaze Rod and 3 Cobblestone or Blackstone. Place 1–3 glass bottles in the bottom slots, your ingredient in the top slot, and Blaze Powder in the fuel slot. Each brewing cycle takes 20 seconds and affects all bottles simultaneously.
Blaze Powder is your fuel source: one powder fuels approximately 20 brewing operations, so stockpile it early. To create glass bottles, arrange 3 glass blocks in a “V” shape on the crafting table. You’ll also need water bottles, fill empty bottles by right-clicking water or a filled cauldron. Setting up a dedicated brewing area near your base saves hours of running back and forth when you’re mid-combat and need potions fast.
Ingredients and Modifiers
Base Ingredients and Enhancement Modifiers
Every potion starts with a base ingredient added to water bottles. The most important is Nether Wart, which converts a water bottle into an Awkward Potion, the foundation for nearly all effect potions. Other unique starters include Fermented Spider Eye, which creates Weakness directly without needing Nether Wart first.
Modifiers amplify or alter potions after the initial effect is brewed. Redstone Dust extends duration (turning a 3-minute potion into 8 minutes), while Glowstone Dust increases potency (level II, roughly halving duration). Gunpowder converts any drinkable potion into a splash version, perfect for combat or area denial. Dragon’s Breath takes splash potions further, creating lingering potions that leave effect clouds, essential for tipped arrows in Java Edition. Remember: apply only one modifier per batch after brewing the base effect. Using Redstone first and then Glowstone means the Glowstone effect overwrites the Redstone boost.
Base and Effect Potions
Positive Effect Potions
Positive effects dominate most survival and combat scenarios. Swiftness (Sugar) grants Speed I for 3 minutes, extend it to 8 minutes with Redstone or boost to Speed II with Glowstone. Strength (Blaze Powder) adds 1.5 damage per hit and scales incredibly at level II, making it the damage staple for raid runs. Regeneration (Ghast Tear) heals 0.5 hearts every 0.4 seconds at level I, or 1 heart every 0.4 seconds at level II, cheap and effective for dungeon crawling.
Night Vision (Golden Carrot) lets you see underwater and in caves without torches, while Invisibility (Night Vision + Fermented Spider Eye) makes you undetectable to mobs except spiders and creepers. Fire Resistance (Magma Cream) is mandatory for the Nether: it blocks all fire damage and lets you walk on lava. Water Breathing (Pufferfish) lasts 3 minutes baseline and opens up underwater exploration. Leaping (Rabbit’s Foot) adds jump height, level II is absolutely broken for mobility. Slow Falling (Phantom Membrane) prevents fall damage and is a quality-of-life essential. Healing (Glistering Melon Slice) is instant health, it doesn’t stack with regen but it’s immediate damage mitigation.
Negative Effect Potions
Negative potions have niche uses but shouldn’t be underestimated. Poison (Spider Eye) damages mobs or players but doesn’t kill them (caps at 0.5 hearts). Weakness (Water Bottle + Fermented Spider Eye directly) reduces damage output, crucial for griefing prevention on servers. Slowness (Speed + Fermented Spider Eye) cripples mobility, while Harming (Healing + Fermented Spider Eye) deals instant damage, especially potent at level II. Turtle Master stands alone: it grants Resistance IV and Slowness IV simultaneously, creating a tank effect that’s situational but powerful for taking massive hits.
Advanced Brewing: Upgrades and Splash Potions
Once you master basic brewing, splash and lingering potions unlock advanced tactics. Any drinkable potion becomes a splash potion with Gunpowder, they explode on impact and affect a 9-block radius, losing 25% duration in the process (so an 8-minute potion becomes 6 minutes as splash). Throw splash healing potions at teammates or damage teammates with splash poison to control group dynamics.
Lingering potions require a splash version first, then Dragon’s Breath. They create persistent effect clouds lasting 25% of the original drinkable duration, a lingering Strength splash might last only 45 seconds but covers huge areas. In Java Edition, lingering potions craft tipped arrows, letting you arrow-spam effects during raids or PvP.
For efficiency, brew Awkward Potions in bulk (9 at a time if you have 3 brewing stands), then split into effect batches. A veteran setup chains multiple brewing stands to run in sequence, converting Awkward into Speed, then Speed into Leaping, then Leaping into Invisibility, one ingredient added, three different potions in 20-second intervals. This scales your potion output dramatically, especially before major fights. Whether you’re hitting the Ender Dragon, raiding a fortress, or defending against a player invasion, having splash and lingering potions stocked separates survival wins from inventory resets.