Table of Contents
ToggleIf you’ve spent any real time in Minecraft’s combat systems, you know that every tool and trick counts. The weakness potion is one of those tools that doesn’t get as much hype as healing or strength potions, but in the right situation, it’s absolutely invaluable. Whether you’re facing a Wither, setting up a zombie farm, or prepping for endgame combat, understanding how to brew and deploy weakness potions can turn the tide of battle. This guide covers everything, from gathering ingredients to tactical applications across Minecraft’s toughest challenges.
Key Takeaways
- A Potion of Weakness reduces melee damage by 4 hit points per attack, making it essential for tanky boss fights like the Wither and PvP combat scenarios.
- Brewing a weakness potion requires three core ingredients: a fermented spider eye, an awkward potion base, and a brewing stand—taking just 20 seconds total to complete.
- Weakness potion variants include extended versions lasting 2 minutes 24 seconds, splash potions affecting multiple targets, and lingering potions that create damage clouds for area control.
- Strategic applications of weakness potions span Wither fights, zombie villager conversion, mob farming safety, and PvP dominance where weakened opponents deal significantly reduced damage.
- Always check server rules before using weakness potions in multiplayer, as some hardcore PvP communities restrict them to maintain balanced gameplay.
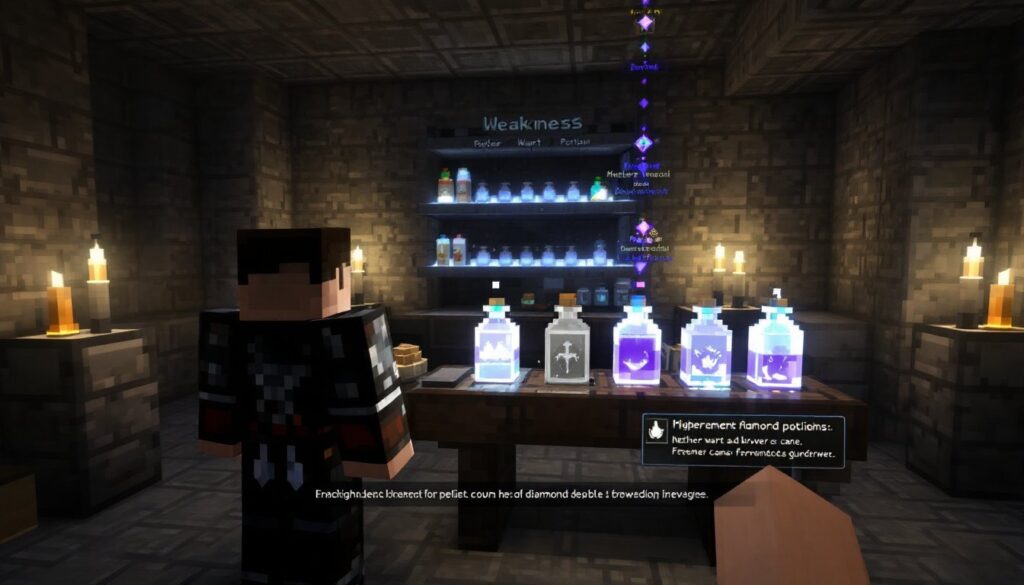
What Is a Weakness Potion and How Does It Work
A Potion of Weakness reduces melee damage dealt by affected mobs and players by 4 hit points per attack (half a heart per strike, effectively). This might not sound like much, but it stacks in ways that fundamentally change combat math. Against tanky enemies like the Wither or Piglin Brutes, those damage reductions compound fast.
The potion affects both you and mobs. If you drink it, your punches and sword swings lose power. If a mob or player consumes it (via splash or lingering variants), their attacks weaken dramatically. This is why weakness potions are clutch in PvP scenarios, weakened players can’t burst you down as effectively, giving you breathing room to heal or reposition.
Duration matters too. A standard weakness potion lasts 30 seconds, while extended versions stretch that to 2 minutes and 24 seconds. In drawn-out fights, that extra duration can be the difference between surviving and respawning at your spawn point.
How to Craft a Weakness Potion
Gathering Your Brewing Ingredients
You’ll need three core items:
- Fermented Spider Eye: Craft this by combining a spider eye, sugar, and brown mushroom. Drop all three in a crafting grid (order doesn’t matter) to get one fermented spider eye.
- Awkward Potion: This is your base. Create it by brewing a water bottle with nether wart in a brewing stand.
- Brewing Stand: If you don’t have one yet, smelt cobblestone or blackstone with fuel to get stone, then craft the stand with three stone blocks and a blaze rod.
The fermented spider eye is the linchpin. Find caves with lots of spiders, hunt them at night, or set up a dark mob farm. Sugar comes from sugar cane near water sources. Brown mushrooms spawn in dark areas or nether biomes.
Step-by-Step Brewing Process
- Prepare Your Brewing Stand: Place water bottles in the three potion slots at the bottom. You can brew up to three potions at once.
- Add Nether Wart: Pop a nether wart into the top slot. Wait about 10 seconds. Your water bottles turn into awkward potions, you’ll see the texture shift and color change.
- Swap to Fermented Spider Eye: Remove the nether wart and place your fermented spider eye in the top slot. Within 10 seconds, the awkward potions transform into weakness potions. The liquid shifts to a grayish-purple hue.
- Collect Your Brew: Click the bottom slots to grab your weakness potions. They’re now ready to drink or convert into splash/lingering variants.
To make a Splash Potion of Weakness, throw your weakness potion and a gunpowder into the brewing stand together. To make a Lingering Potion of Weakness, use a splash potion with dragon’s breath. Lingering potions create a cloud that damages anything passing through, perfect for defensive traps or area denial.
Best Uses and Strategic Applications
Wither Fights: The Wither hits hard and has tons of health. Splash potions of weakness reduce its damage output significantly, letting you tank longer and heal between hits. Pre-brew a stack before summoning it in the Nether.
PvP Dominance: Weakness potions flip the script in player-vs-player combat. Hit your opponent with a splash variant, and suddenly their sword swings do half damage. You can outlast them, heal up, and force them into a desperate position. This is especially effective in vanilla survival servers where healing resources are limited.
Zombie Conversion: Want to turn a Zombie Villager back into a regular villager? Hit it with a splash potion of weakness first, then feed it a golden apple. Without the weakness buff, the conversion takes way longer. For large-scale village restoration, weakness potions are essential.
Mob Farming Optimization: If you’re building a farm to harvest experience or drops from mobs, weakness potions reduce incoming damage while you’re grinding. Drink one before farming sessions to make the grind safer and less dependent on armor durability.
Damage Mitigation in Tight Spaces: Caves, underground bases, and tight corridors amplify mob damage because you can’t kite effectively. A weakness potion gives you that extra cushion when movement options are limited. Players often underestimate how much 4 fewer damage points matters when you’re surrounded.
Weakness Potion Variants and Extended Durations
Beyond the standard potion, Minecraft offers extended versions that last 2 minutes and 24 seconds instead of the base 30 seconds. Brewing an extended version follows the same process, just add redstone dust to the weakened potion instead of a fermented spider eye. Redstone extends duration across most potion types, and weakness is no exception.
There’s also no “enhanced” or “tier II” variant of weakness (unlike strength potions). You can’t amplify the effect beyond the base 4-damage reduction. What you can do is stack multiple potions, drink one, and when it wears off, drink another. Or use lingering potions strategically in chokepoints where mobs are forced to walk through the effect cloud.
Splash and lingering variants are particularly potent because they affect multiple targets at once. A lingering potion dropped in a mob grinder weakens all mobs in the area simultaneously, turning a risky farming session into a controllable grind. Speedrunners and hardcore players often brew these in batches before attempting endgame content like the Wither or Ender Dragon.
For survival servers and community play, weakness potions are sometimes restricted because they’re so effective in PvP. Always check server rules before bringing a full stack into combat. Most vanilla servers allow them, but hardcore PvP communities occasionally impose bans or cooldowns to maintain balanced gameplay. Understanding the meta on your specific server shapes how you prepare your potion inventory.
Conclusion
The weakness potion is proof that Minecraft’s depth goes beyond damage numbers. It’s a utility tool that changes how you approach combat, farming, and survival. Master brewing it, stock up before major challenges, and deploy it strategically. Whether you’re fighting the Wither, dominating PvP, or converting villagers, weakness potions belong in your arsenal. For even broader potion knowledge, explore Minecraft Potions: Unlock Epic and jump into other brewing options that complement your playstyle.